Find a Showroom
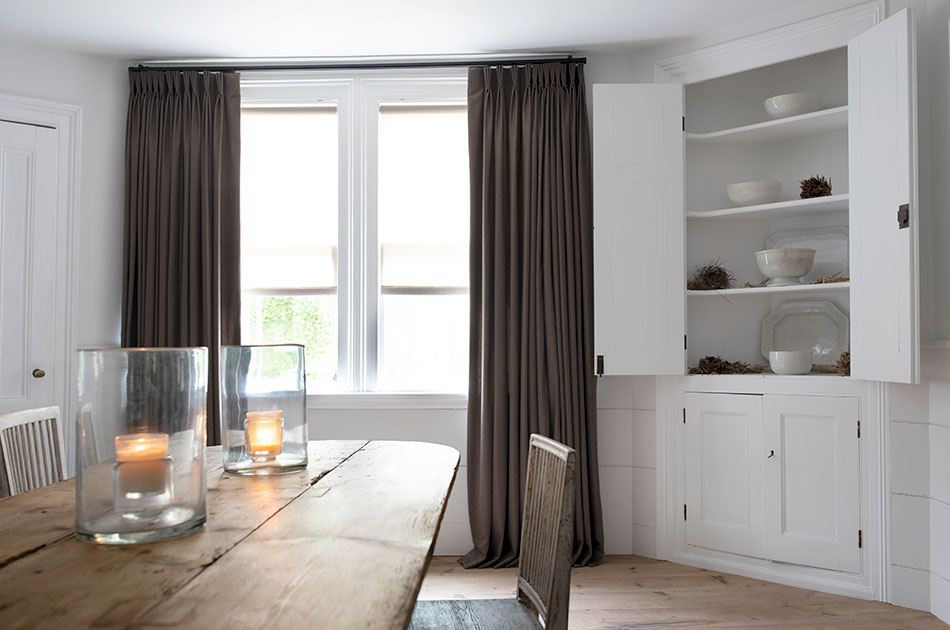
How to Install Drapes in 5 Simple Steps
Adding drapery to a room can transform its look and functionality, giving you an inviting aesthetic and the right light and privacy control for every time of day. Learning how to install drapes on your own is luckily a relatively straightforward process. However, the true difficulty of installing drapes will ultimately depend on your individual skillset and application.
Prefer to Rely on Professionals?
At The Shade Store, we highly recommend you rely on our expert professionals for measurements and installation to ensure the right fit and functionality. Start your project off with a free professional measurement. REQUEST FREE MEASUREMENT
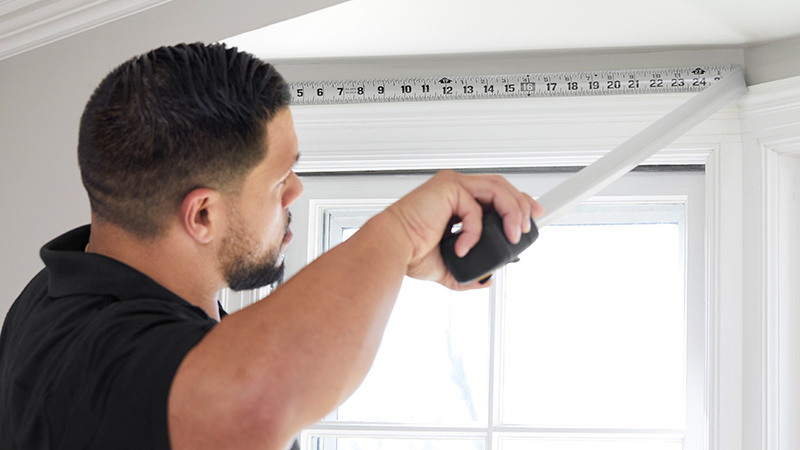
Step 1: Gather Tools for Measuring & Installation
To learn how to install drapes, you need to have the right tools on hand for measuring and installation. These tools offer a great starting point, but always make sure to review the installation instructions for your chosen drapery for a complete list of needed tools.
You likely have most of these tools already, but if there’s any you don’t have, you can easily find them at your local hardware store.
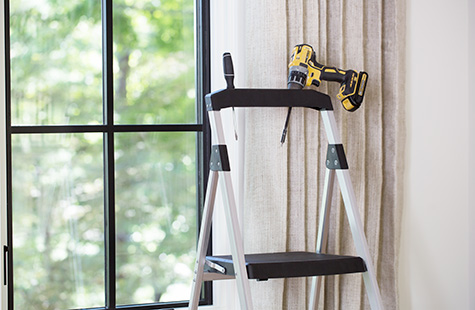
Tools Needed
- Step stool or ladder
- Tape measure
- Level
- Phillips screwdriver
- Drill with the right sized bit for your curtain rod kit
- Curtain rod kit (rod, brackets, screws)
- Anchors (if needed) for drywall application
Step 2: Plan & Measure Your Drapery Length & Width
Part of learning how to install drapes is about planning for the length and width of your drapery panels. You’ll want to choose a size and an installation application that accentuates your window and greater room aesthetic. Then, you’ll measure your drapery length and width based on the plan for how best to hang your drapery.
How Do You Hang Drapes Properly?
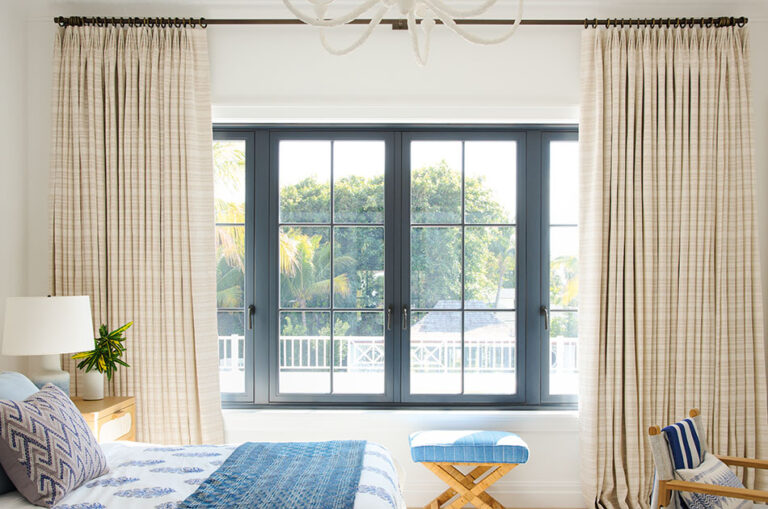
Learning how to install drapes is knowing how to hang your drapery properly. The best rule for hanging your drapery properly is to hang them high and wide beyond your window. When your drapery extends beyond the window’s parameters, it creates the illusion of a larger window and taller ceiling.
So just how high and how wide should you hang your drapes?
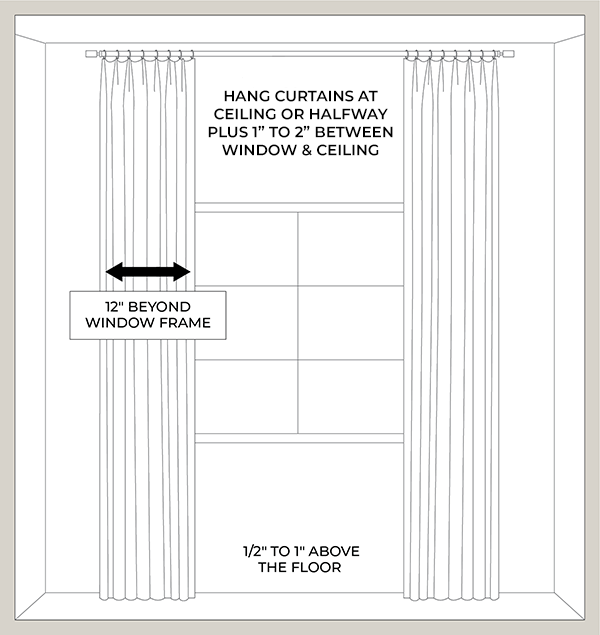
How High Should I Hang My Drapes?
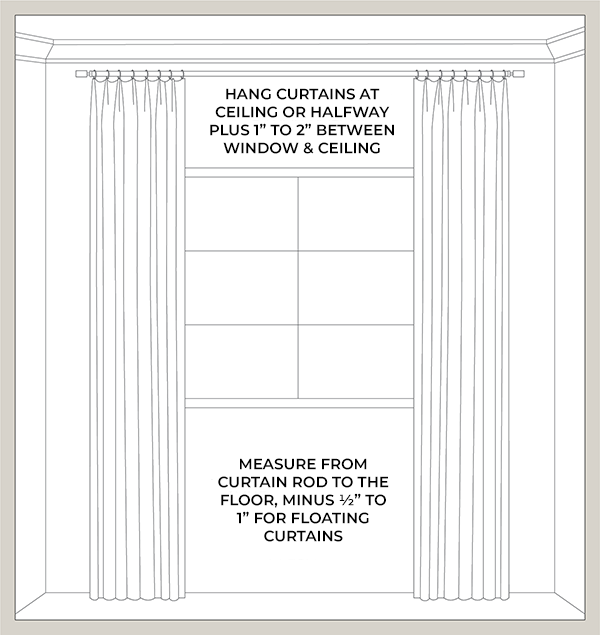
A good general rule of thumb is to hang your drapes halfway between the top of the window and ceiling, plus an inch or two.
However, there are some common exceptions to this rule, including:
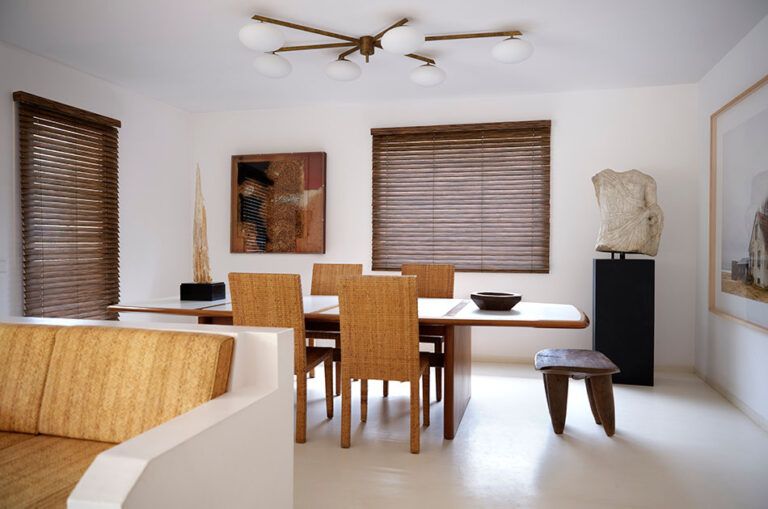
- For rooms with shorter ceilings without a lot of space between the top of the window and the ceiling, hang your curtains just below the ceiling, or better yet, ceiling-mount them.
- For rooms with cathedral ceilings, hang your curtains about 8 to 10 inches above the top of your window frame to help the window feel taller without going too high with your drapery.
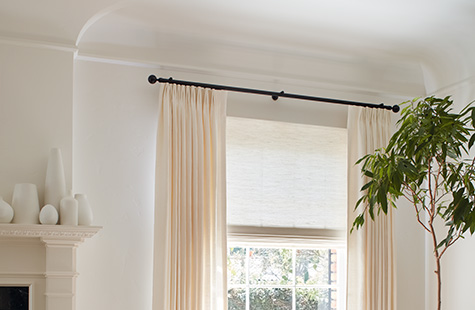
- For rooms with crown molding, hang the drapery just below the crown molding to avoid an awkward gap between the top of your drapery and the start of the crown molding.
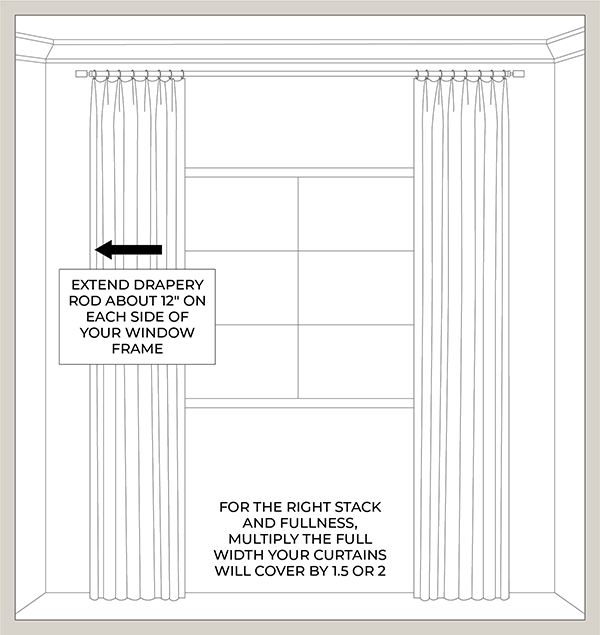
How Far Should a Curtain Rod Extend Past the Window?
For your drapery width, you’ll want to think about how far the curtain rod should extend past the window, and a good practice for this is to extend the rod about 6 to 12 inches past the window. This will ensure the drapery is able to be pulled fully off your window when opened, and it also creates the illusion of a wider window.
Measuring for Width & Length
Once you have a plan for how high and wide to hang your curtain panels, the next step for installing drapes is to measure for width and length. Measuring for width and length is especially important for how to install drapes that are custom-made, as exact dimensions give you the perfect tailored look for your window. However, measuring can also be useful in choosing premade drapery that best suits your window.
Learn how to measure for length and width so you can order the perfect drapes for your room.
How to Measure for Width
To measure the width of your drapery, you’ll need to take two measurements:
- The width of your curtain rod
- The total width of your curtain panels
The curtain rod width will be the width you want to cover with your curtains, which will typically expand past the window frame by about 6 to 12 inches. If you want to know how to install drapes inside the window box in an inside-mount application, the width of the rod will simply be the width of the top part of your window box.
To calculate the total width of your curtain panels, you won’t just take the width of your curtain rod because this would mean your drapes would be flat when you drew them closed against the window. Instead, you need to account for the fullness of your drapery, or how lush and thick the panels look whether drawn open or closed. To achieve the right amount of fullness, multiply the width your drapery will cover (or the width your hardware will span) by 1.5 or 2. This will give you a nice full look for most drapery materials, but some thinner materials like sheers may need about 2.5x or 3x the width.
How to Measure for Length
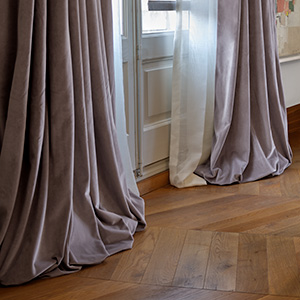
The length of your curtains is the distance from the rod down to where you want your drapery panels to end. While you may think sill-length curtains are the right choice for shorter windows, the truth is that taller curtains help add to the visual length of your window and the height of your ceilings for a more spacious look.
To measure for length, start at the place where the drapery rod will be installed and measure to the floor. Then, you can add any extra inches as needed to achieve the right length.
Achieving the Right Length
For floor-length drapery, you have a few different options:
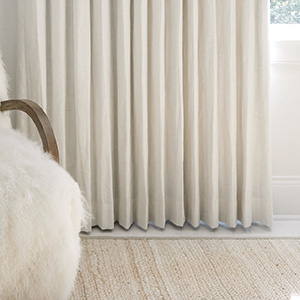
float
Floating curtains hover just above the floor for a crisp, clean look and easy functionality.
Measuring: Measure from the top of your curtain rod to ½ inch off the floor.
break
Curtains with a break kiss the floor, which is ideal for hiding uneven floors.
Measuring: Add 1 to 2 inches to your curtain’s float length.
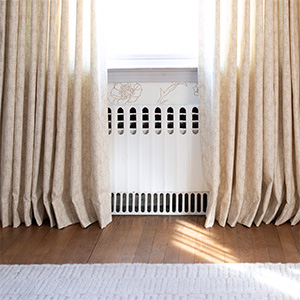
puddle
Puddled curtains create lush piles of fabric for a luxurious look.
Measuring: Add 3 to 6 inches to your curtain’s float length.
Step 3: Mark Bracket Placement
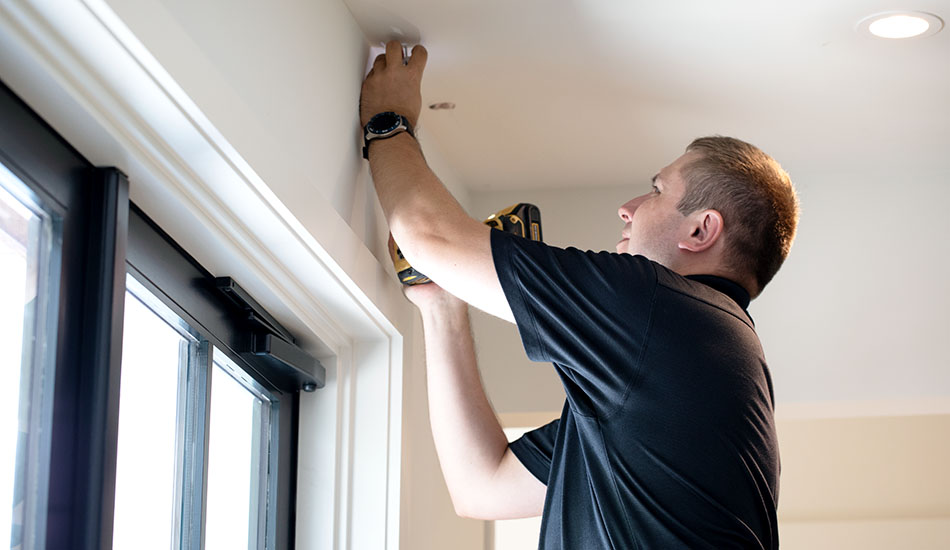
Once you know the height and width of your drapery, the next step for how to install drapes is to mark where the brackets will go. Brackets are structural pieces installed in the wall that are crucial to carrying the weight of the drapery hardware and curtain panels.
The placement of brackets and how many you’ll need depend on:
- The type of drapery hardware you’re using (rod and rings or a track system)
- The total width of your curtain rod
- Whether you have a single or double rod system
- Whether you’re mounting your curtain rod on the wall or from the ceiling as ceiling-mounted drapery tends to need more brackets than wall-mounted drapery
In general, you’ll want to install your end brackets a few inches (2-3) from the edges of your curtain rod or track system, so be sure to mark these placements first. The rest of the brackets should be evenly spaced between the two end brackets. Placing brackets about every 2 to 3 feet is a good rule of thumb to follow.
Important
Always be sure to consult your chosen drapery hardware’s installation instructions for a more exact amount of brackets needed and the proper placement.
Step 4: Install Your Hardware
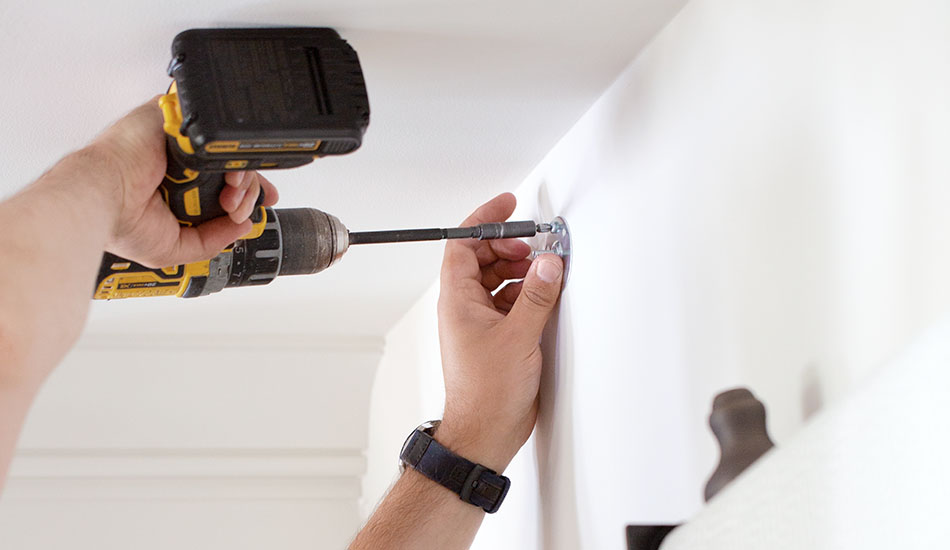
Once you mark where each bracket should go along the width of your curtain rod or track system, the next step for how to install drapes is to fasten the brackets. For ease, it’s best to use a drill to create pilot holes for your bracket screws. If any of your brackets don’t fall on a stud, you’ll need to use drywall anchors for a secure mount.
After your brackets are fastened, you can position your rod or track system on the brackets. Keep in mind, in some cases, it is better to attach your drapery panels to the rod or track system first, before you mount the hardware. Be sure to follow the steps in your chosen drapery’s install instructions for the best approach.
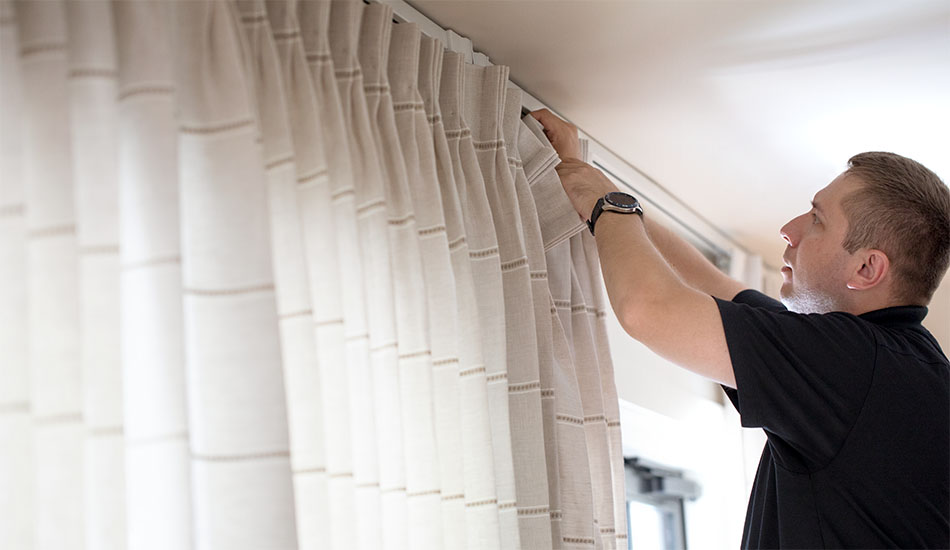
Step 5: Hang Your Drapery
After fastening your hardware, you’re ready for the next step in how to install drapes, which is to hang your drape panels. The process of hanging your drapery will vary based on:
- Whether you’ve installed a track system or a rod and ring system
- What pleat style of drapery you’ve chosen
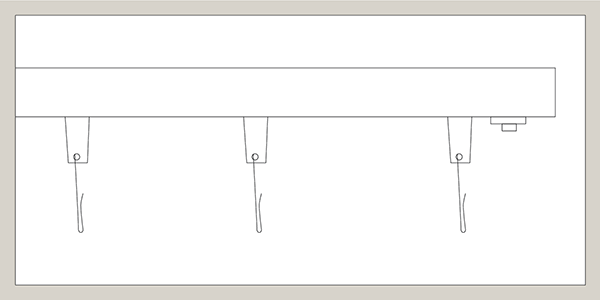
Hanging Drapery on a Track System
Installing drapes on a track system will vary a bit between the different compatible pleat styles, but in general, the process is the same. Styles of drapery compatible with a track system include Ripple Fold, Pinch Pleat, Tailored Pleat, Goblet, Inverted Pleat and Cubicle Drapery.
Snap to carriers: Ripple Fold Drapery
For Ripple Fold Drapery, you’ll hang your curtains by snapping buttons on the back of the drapery into the carriers that glide back and forth on the track system.
Insert Drapery Pins into Hooks
For the other styles of drapery, your drapery will come with pins already attached to the top of your drapery. The pins will be inserted into the hooks of the track system. For Cubicle Drapery, you’ll simply insert the small grommets into the hooks.
Hanging Drapery on Rod & Rings
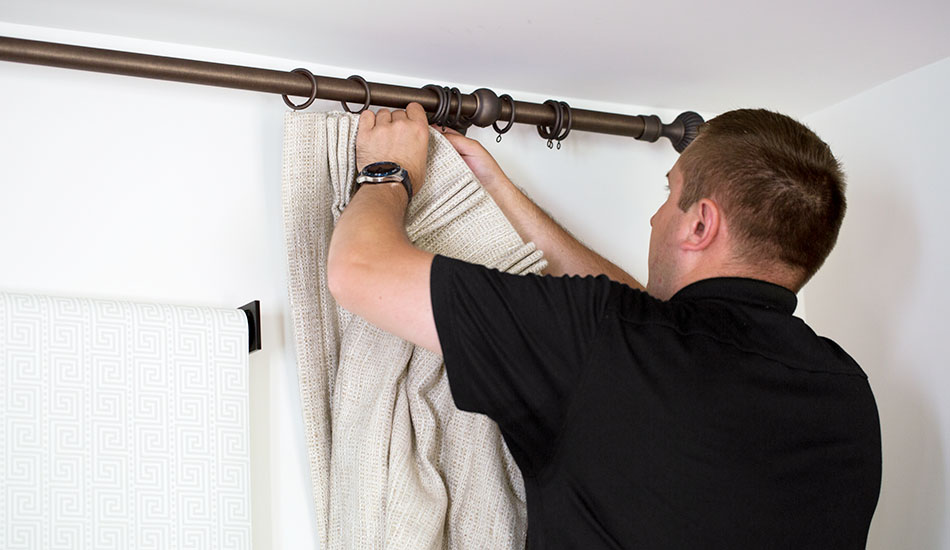
Installing drapes on a rod and rings system is pretty straightforward as well, and most drapery styles are compatible with this type of hardware, including Pinch Pleat, Tailored Pleat, Goblet, Inverted Pleat, Grommet, and Rod Pocket Drapery. Although, keep in mind that Grommet Drapery and Rod Pocket Drapery will just be hung from the rod, with no rings needed.
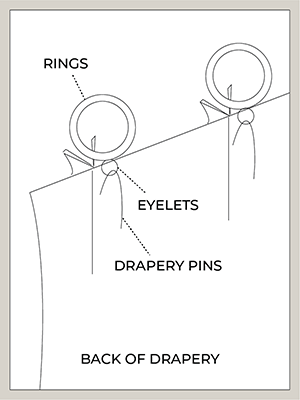
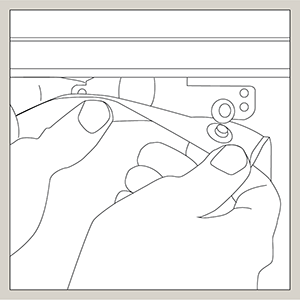
Insert Drapery Pins Through Ring Eyelets
For Pinch Pleat, Tailored Pleat, Goblet and Inverted Pleat Drapery, the first step for hanging the drapery is to thread the rings onto the rod. Then, you’ll insert the drapery pins (already sewn into your curtains) through the eyelets of the rings. To ensure the pins hold onto the eyelets, pinch the pins closed.
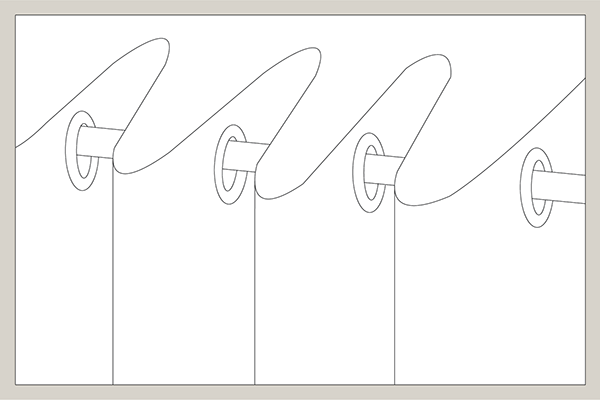
Thread the Curtain Rod
For Grommet (pictured, right) and Rod Pocket Drapery, the process looks a little different. First, you won’t need to add rings to the rod. Instead, you’ll thread the drapery rod through the grommets of Grommet Drapery or through the pocket of Rod Pocket Drapery.
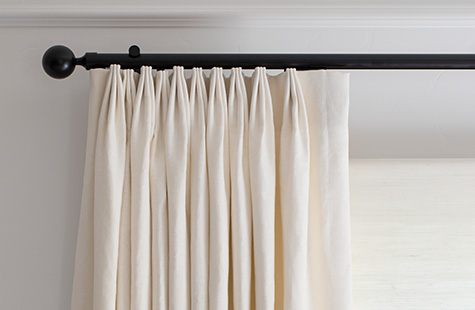
Adjust for Uniform Folds & Pleats
After securely installing drapes onto their hardware system, make sure to adjust the panels so they are evenly distributed across the rod and track system. Then, adjust the folds and pleats to be uniform in style to suit your tastes.
Care & Maintenance
Now that you know how to install drapes, you may be wondering about care and maintenance for your newly installed drapery. The exact care your drapery will require will depend on the material of the fabric, however, for all fabrics, there are a few best practices:
- Use a low-suction handheld vacuum to regularly remove dust and dirt from your drapes.
- For stains, we recommend contacting a professional window treatment cleaning specialist who will likely be able to treat your drapery onsite, without taking it down. If you can’t find a window treatment cleaning specialist, consider taking in a swatch of the material to your local dry cleaner to discuss your options. If you’ve chosen drapery fabric from The Shade Store, we’ll be happy to provide you with a free swatch that you can order online or find at your local showroom.
Save Yourself the Work & Rely on Professionals
While learning how to install drapes is relatively straightforward, relying on professionals can ensure your drapery is installed correctly and within our warranty policy. Plus, you’ll be able to skip all the hard work of installing drapes and simply enjoy the finished product. Our team of professionals offers services for both measurement and installation to take all the work off your plate. Start your drapery project today by scheduling a free measurement.
SCHEDULE A FREE PROFESSIONAL MEASUREMENT
Ensure your window treatments fit perfectly when you schedule a free measurement with our expert professionals.