Find a Showroom
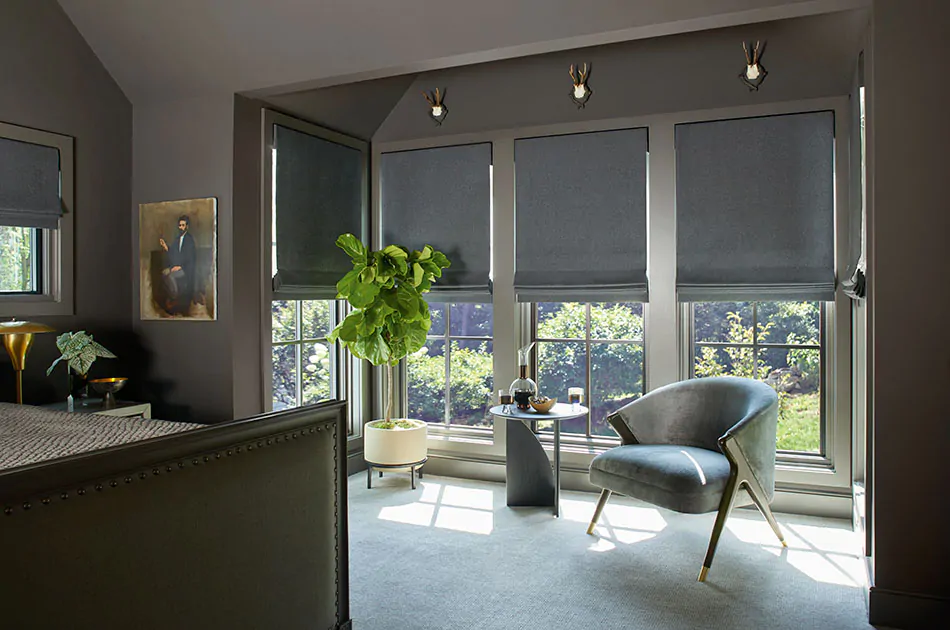
How to Install Roman Shades: Step by Step
Need to know how to install Roman Shades? Whether you’re committed to DIY-ing the job or still considering relying on professionals, understanding the steps to installation is an important part of your window treatment project. Knowing how to hang Roman Shades can help you decide whether or not you’re confident DIY-ing the install, and it can also help in your decision about whether Roman Shades are the best choice for your home.
Keep in mind that the following considerations and installation steps for how to hang Roman Shades are specific to Roman Shades from The Shade Store.
Considerations Before Installation
Before you dive into the steps for how to install Roman Shades, first think through these core considerations, including the ease of install and inside- and outside-mount applications.
Get More
Insights
Learn more about all aspects of Roman Shades beyond installation, including different styles, materials, lining options and more in our comprehensive Buying Guide. READ THE GUIDE
Is it Easy to Install Roman Shades?
The steps for how to install Roman Shades are straightforward and require common household tools like a screwdriver and drill. However, the true difficulty of the project will ultimately depend on your individual skillset and comfort level with each of the installation steps.
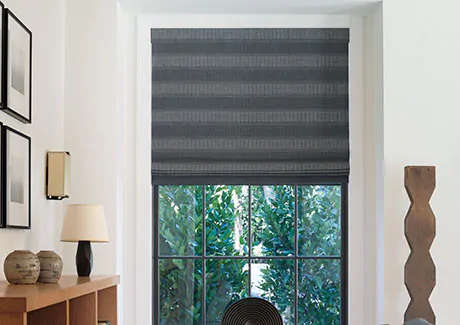
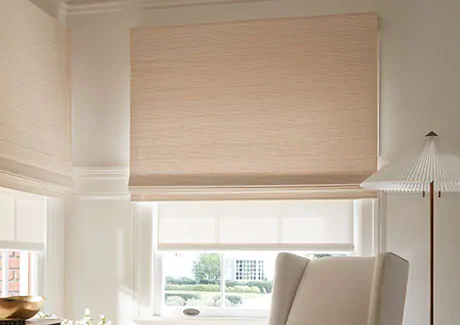
Do You Hang Roman Shades Inside or Outside Mount?
Roman Shades can be hung in either an inside- or outside-mount application. However, inside-mount applications do require your window frame to be at least ¾-inch deep for a secure mount, and up to 1 7/8-inch deep for a flush inside mount. If your window is too shallow, then an outside-mount application is the only way to go.
inside mount
An inside-mount installation means your shade is installed inside the window frame, often with the headrail screwed into the top or “ceiling” of the window frame.
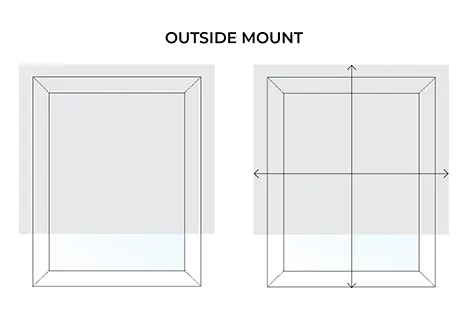
outside mount
An outside-mount installation means your shade is installed outside of the window frame and typically secured to the wall around the frame.
How Do You Hang Roman Shades Without Brackets?
When looking for how to hang Roman Shades without brackets, your only option is to inside-mount them. This is because an inside-mount application only requires screws to secure the headrail to the “ceiling” of your window frame; it does not require brackets. However, remember that an inside-mount application will require a window frame depth of at least ¾-inch for a secure mount and up to 1 7/8-inch for a flush inside mount.
Steps for Installing Roman Shades
Now that you understand some of the factors to consider before installation, you’re ready to learn the steps for how to install Roman Shades.
These installation instructions are specific for how to hang Roman Shades from The Shade Store and may not apply to other types of shades.
Read the Install Instructions
Before attempting installation, always be sure to read through the full installation instructions. READ THE INSTALL GUIDE
For the first step in how to install Roman Shades, get familiar with the basic construction of these shades so you’re better prepared to understand the steps ahead.
Step 1: Learn Basic Roman Shade Construction
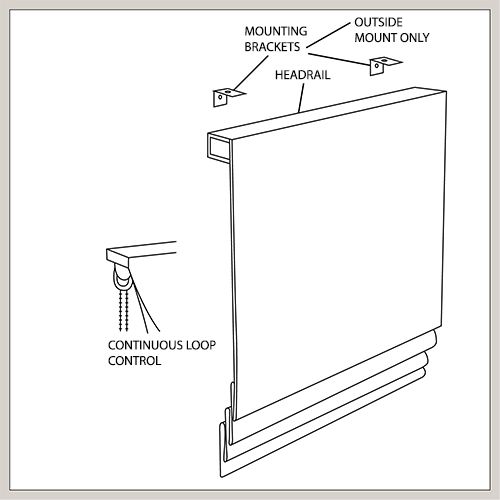
Roman Shades are typically made with a headrail and a single panel of fabric. The headrail is a piece of wood, typically with the fabric already attached, that securely fastens your shade to the window frame, wall or ceiling.
The process for how to install Roman Shades with a headrail requires either screws for an inside-mount application, or mounting brackets for an outside-mount application, so the steps for each are a little different, too.
Step 2: Gather Tools
The first step for how to install Roman Shades is to first gather the tools you need for the job. All of these are common items you’ll likely already have. However, if you don’t have one or more of these tools, they’re all easily found at your local hardware store. You may even be able to rent the drill if you’re not ready to buy it.
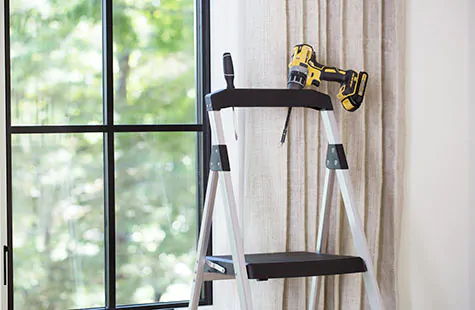
Tools Needed for Measure & Install
- Pencil
- Tape measure
- Level
- Stepladder
- Phillips screwdriver
- Drill
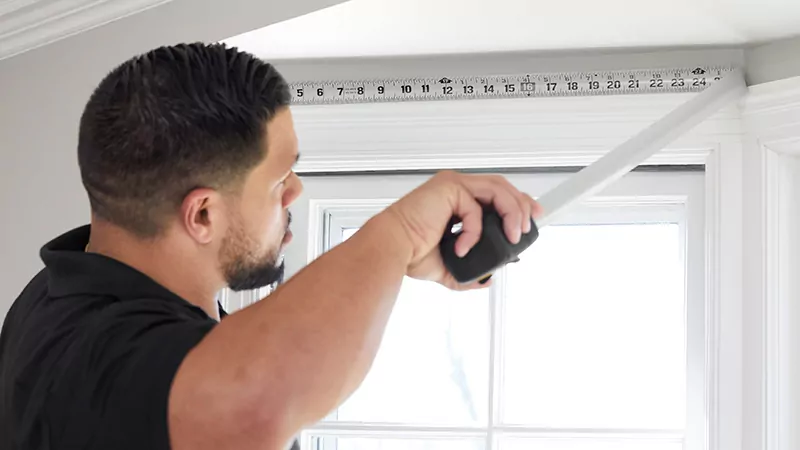
Step 3: Measure for Your Ordering Width & Length
The next step for how to install Roman Shades is to measure your window to determine your ordering width and length. Getting the right measurement for width and length is especially important when ordering custom window treatments. If considering premade shades, you’ll need choose the shade size that most closely suits your measurement, which means you’ll likely have a shade that’s a little too big or too small. Ordering custom, though, will ensure a perfect fit and an elegant, tailored aesthetic.
To measure properly for your Roman Shades, follow the instructions below based on whether you plan to inside- or outside-mount your shades.
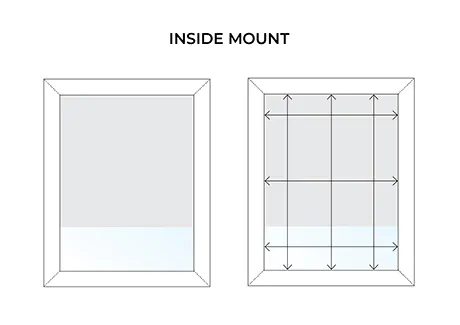
Measuring for Inside Mount
First, measure the depth of your window frame, from the glass to the edge of the window’s interior trim, to ensure you an inside-mount application is a possibility (the depth will need to be at least ¾”).
Then, for length, you’ll take three measurements from the top to the bottom of your window and use the largest number as your order length.
For width, take three measurements and use the smallest number for your ordering width. Taking three measurements in this way ensures the shade extends all the way to the bottom of the window without catching on the sides of the frame.
Measure for Outside Mount
For width, measure based on how far you want your shade to extend beyond the window frame. Be sure to measure so there’s an equal amount of shade extending past both sides of the frame.
For length, measure based on how high above the frame your shades will extend. Start at the height you want your shades to extend above the frame and measure all the way down to the bottom of your window frame.
Get More
Measuring Details
For more detailed measure instruction, see the measuring guide for Roman Shades. READ THE GUIDE
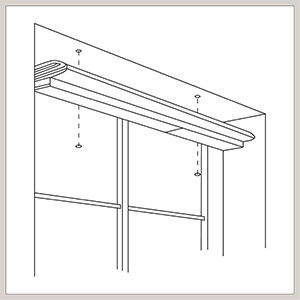
Step 4: Mark Screw or Mounting Bracket Placement
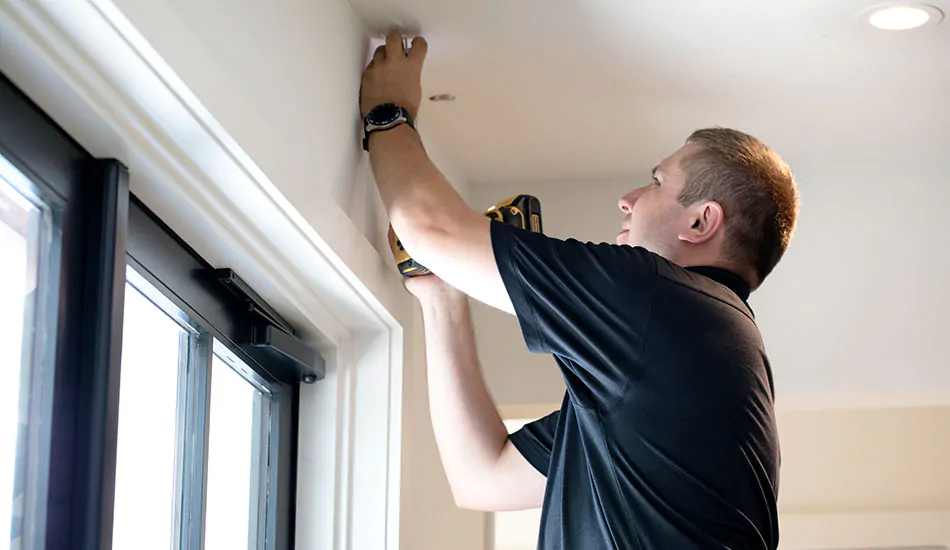
Next up for how to hang Roman Shades is to mark where your screws or brackets will go on your window frame or wall. Whether you’ll use just screws or brackets and screws to install your headrail will depend on whether you inside or outside mount your Roman Shades. And the placement of these will depend on the mount application as well.
Marking Screw Placement for Inside-Mount Roman Shades
When you order Roman Shades from The Shade Store, the headrail will have mounting holes pre-drilled through the headrail for your convenience. This provides you with an easy way of determining where the screws will be secured in your window frame. Simply start the screws into the mounting holes and tighten until the tips of the screws are slightly showing on the top of the headrail. Then, hold the shade, centered, inside the window frame with the front of the shade flush with the front edge of the window frame. Press up on the headrail so that the screw tips leave small indentations into the window frame. This is where your screws will go to secure the headrail to the window frame.
Marking Bracket Placement for Outside-Mount Roman Shades
Bracket placement for an outside-mount application will depend on the measurements you calculated for your shade’s width. Make sure the brackets are evenly spaced along the width of the shade and level. You’ll also want to ensure they are positioned in a way where they will not interfere with the shade’s control mechanism. Mark both bracket placements with a pencil.
Also keep in mind where your brackets fall because if they do not fall on a stud, you’ll need to purchase a drywall anchor to securely attach your shade.
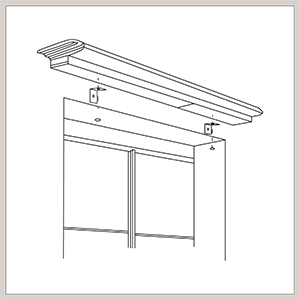
Step 5: Install the Headrail
Now that you have the positions marked for your screws or brackets, the next step for how to install Roman Shades is to install and mount your headrail.
Inside-Mount Headrail Installation
To inside mount your headrail, the easiest method is to use a drill to pre-drill pilot holes where the screw indentations you made in Step 3 fall. Use a 1/8” drill bit for this.
Then, reposition the headrail in your window, making sure the screws align with your pilot holes. Use the drill or a screwdriver to securely fasten your screws and headrail.
Outside-Mount Headrail Installation
For an outside-mount installation, first align the brackets with the pencil marks you left in Step 3 and attach them with the provided screws. Make sure your brackets remain level with one another.
Then, place your headrail on the brackets and mark on the headrail where the brackets fall. Pre-drill pilot holes into the headrail using a 1.8” drill bit at each bracket location.
Finally, attach the headrail to the brackets using a drill or screwdriver and the appropriate screws provided.
Since the fabric panel of your Roman Shades comes fully attached to the headrail, once you install the headrail, you should have full functionality of your shades.
Rely on our professionals for your project
You now know how to install Roman Shades, so you can assess wither you want to DIY the job yourself or get professional support for your project. When you choose Roman Shades from The Shade Store, you have the option to rely on our team of professionals who will handle your project from measurement to installation, so you don’t have to lift a finger. Plus, you’ll have peace of mind knowing your shades are installed to fit and function perfectly. Schedule a free professional measurement today to start your project on the right foot and take the work off your plate.
SCHEDULE A FREE PROFESSIONAL MEASUREMENT
Ensure your window treatments fit perfectly when you schedule a free measurement with our expert professionals.